Showing posts with label nails. Show all posts

Tuesday, April 3, 2012

Nails: Candy Coated

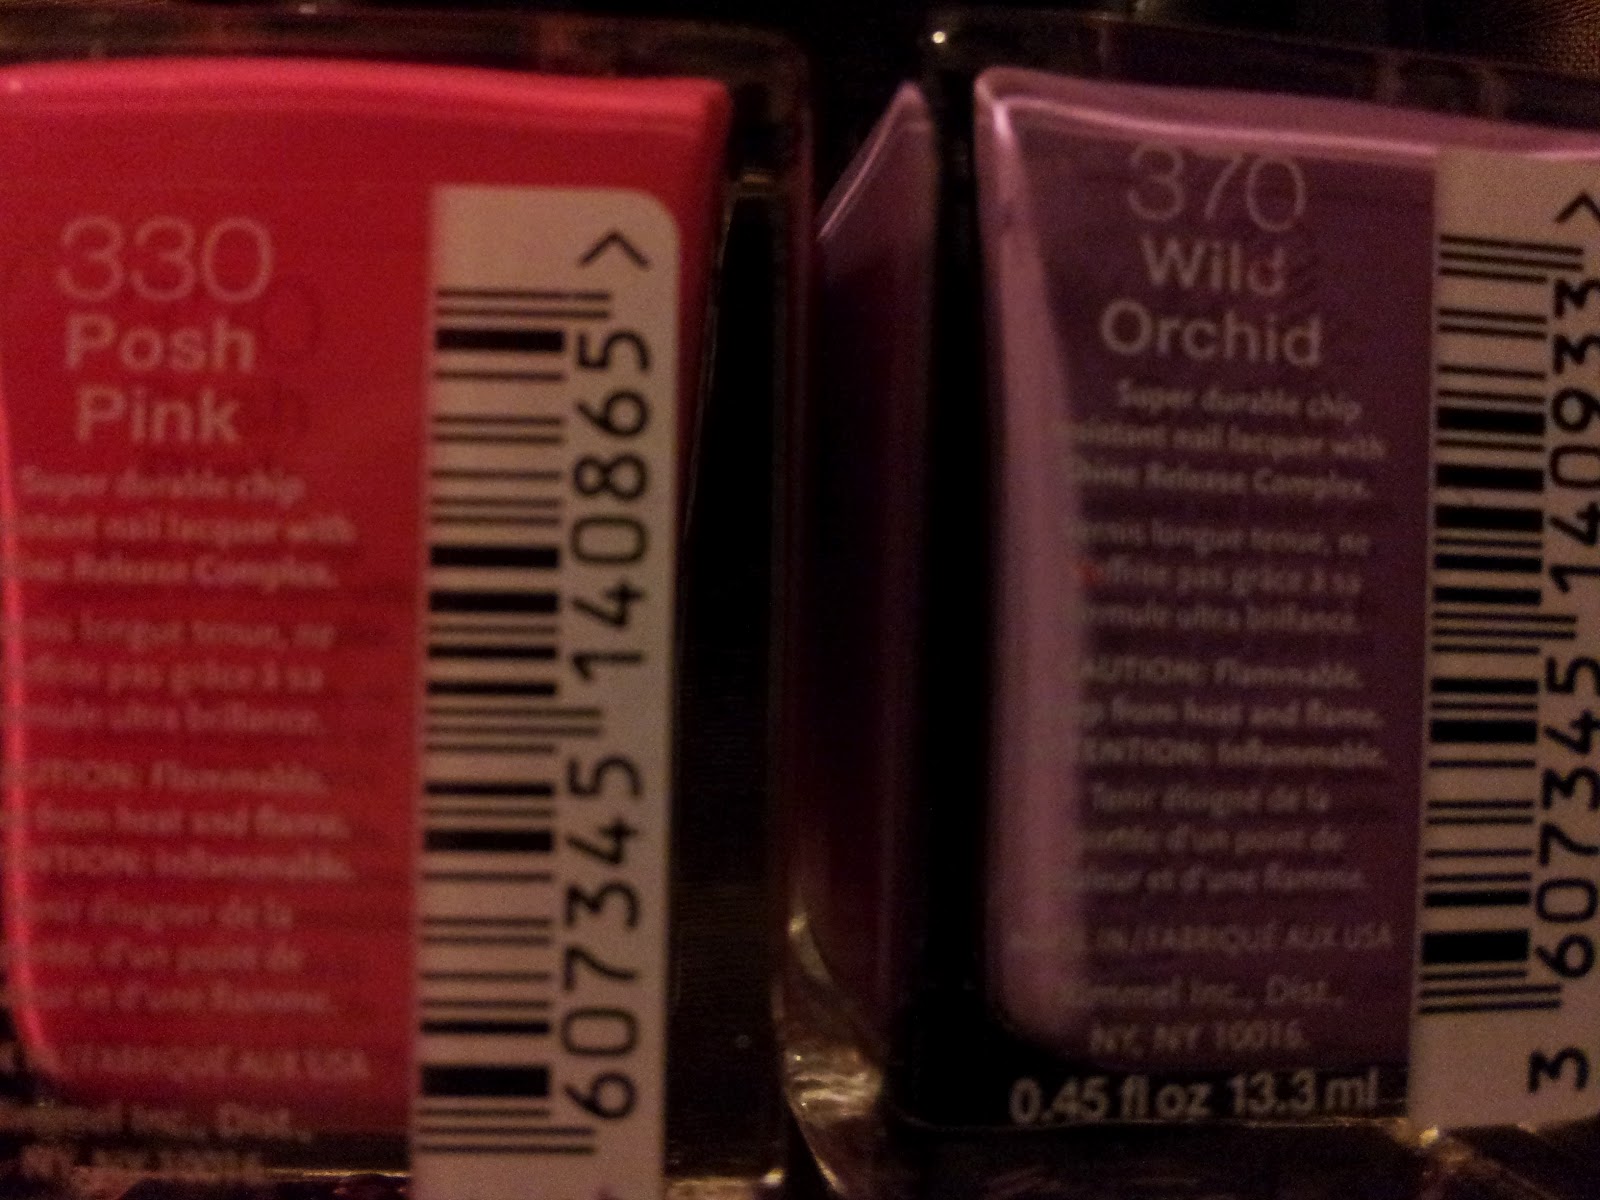
I recently ran across new polishes from Rimmel London called Lasting Finish Pro. The bottle says that it is supposed to last up to 10 days. I decided to purchase them for about $2.50 a piece.


I must say I was really happy with the way they covered and how quickly they dried. I must say they also lasted on my nails without chipping and the finish was very shiny even without a top coat as you will see in the picture below. 


I think that these polishes were definitely worth the money and I am going to go and see what other colors are made on this line. Have you ever used this line? If so, how did you feel about it? 

Until the next time... Stay Blessed

Saturday, September 3, 2011

Newly Nailed...Sure Seems Shiny (Review)

While I love to have my fingernails painted, I find that the polish seems to smudge or chip every time I paint them. I have tried various base and top coats to try and remedy this to no avail. Well recently I came across some new products made by Milani. They are the Milani Nail Treatment Smoothe Base Coat and Milani Nail Treatment Glosse Top Coat. They can be found at Walgreens for approximately $5 each.

Milani Nail Treatment Smoothe Base Coat and Glosse Top Coat along with Ulta 's Eye Popping Poppy

I decided to finally try these products to see if they were worth the money. I chose my color of nail polish, Ulta Eye Popping Poppy. I made sure my hands were clean to ensure that there was no lotion or oils on my actual nail beds. I was in a rush when I painted my nails so these pictures are not the best example of my nail polishing abilities...LOL.

Upon applying the base coat, I noticed that as it dried it left a matte whitish finish. The base coat dried quickly and the applicator brush worked well in apply the coat evenly. 

Base coat 

Once I applied the base coat to all my nails, I applied one coat of the Ulta Eye Popping Poppy. Something I noticed immediately is that it felt like the base coat was grabbing the colored polish. It was a very strange feeling but at the same time it made me feel like it was going to help the colored polish to last longer. I applied a second coat and waited a few minutes before applying the top coat. The top coat went on smoothly and seemed to dry quickly and super duper shiny.

Freshly polished (not yet cleaned up)

Day 2- Still shiny, no chipping or smudging.
I am happy so far with the way this base and top coat have preformed up to this point. I am very hard on my nails so typically by now I would have chipping. I hope that this review is useful to someone. If you happen to have or get these products please give me your feedback. 

FYI:
* Darker nail polishes take longer to dry. Now that we are heading into fall and winter I know we will start using darker colors so keep that in mind when you allot time to do your nails.

* Do NOT shake your nail polishes instead roll them in your hand to mix the color to prevent bubbles. 

Saturday, July 23, 2011

What do you think of when you think of Summer....Watermelon, maybe?

Well maybe this is not the kind of watermelon you would like to eat but we sure thought they looked good.

Des wanted to use her black nail polish, that was bought for Halloween, for something so I decided to try to do something new. This is how "Watermelon Nails" came to fruition...LOL.

A few weeks before while at the grocery store we ran across a Sally Hansen line that was only $2 a bottle and couldn't pass up some of the colors. A couple of the colors we purchased that day, Ivy League and Caribbean Coral; along with the mini bottle of black Sally Girl polish.


In order to get the desired look I first applied the Caribbean Coral over the entire nail in two thin coats and once dry I dipped a Q-tip (aka cotton swab) in some remover and removed the polish from the tip of each nail. I didn't worry too much about the accuracy of the line across the tip of the nail cause they are supposed to be like slices of watermelon. Once I got the polish off the tips I went over each tip with the Ivy League color to give the appearance of the rinds. Last but not least I took the black polish and just placed random dots throughout the nail bed to give the appearance of seeds.

Des went to school the next day and said all her friends loved her nails. I love doing things like this with and for Des. Special things for my special girl.

Hope you all enjoyed!!!